
When it comes to maintaining a clean and efficient kitchen, few things are as crucial—yet often overlooked—as the plumbing hidden beneath your sink. A proper kitchen sink plumbing diagram might not sound exciting, but understanding it could be the difference between a smoothly running home and an expensive repair bill. Whether you’re a homeowner planning a DIY installation or someone just trying to understand what’s going on under the counter, knowing the basics can save you time, stress, and money.
In this article, we’ll break down why every homeowner should be familiar with their kitchen sink’s plumbing setup, what components to watch for, and how a correct diagram can prevent leaks and water damage. Let’s take a closer look at how this often-ignored schematic can be your best defense against a plumbing disaster.
Why a Kitchen Sink Plumbing Diagram Matters
Most people don’t think about what’s going on under their sink—until something goes wrong. That’s when water starts pooling, mold begins to grow, and repair costs start climbing. At its core, a kitchen sink plumbing diagram provides a visual representation of all the connections and parts that make up your drainage and water supply systems.
Here’s why it matters:
- Prevents improper installations: If you’re installing a new sink, garbage disposal, or dishwasher, referencing a diagram ensures you connect everything correctly.
- Aids in troubleshooting: When a leak appears or a clog develops, understanding the layout helps you pinpoint the issue.
- Saves money on repairs: Knowing the system means you can fix minor issues yourself, or communicate effectively with a plumber.
- Helps detect code violations: A proper setup should follow building codes, which protect your home from flooding and contamination.
In short, a good plumbing diagram acts as both a guide and a safeguard.
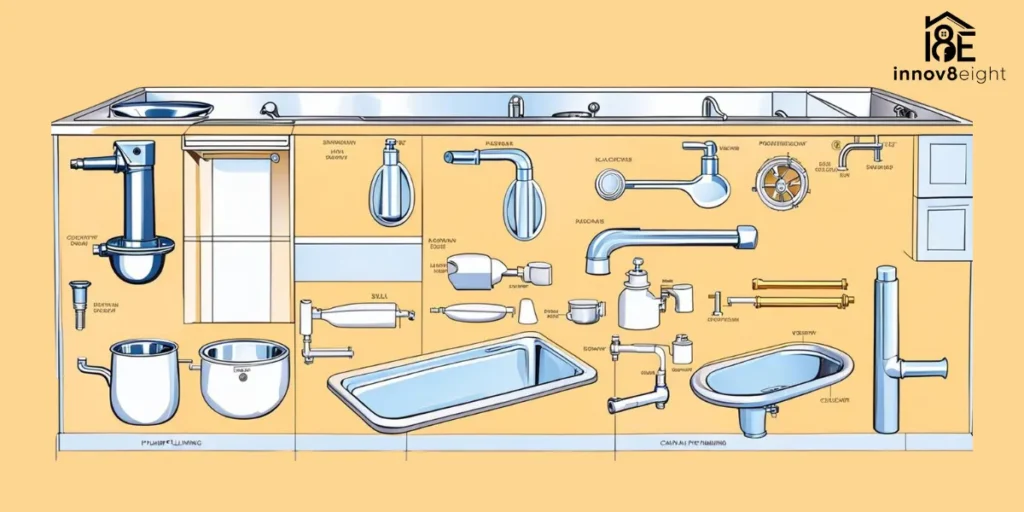
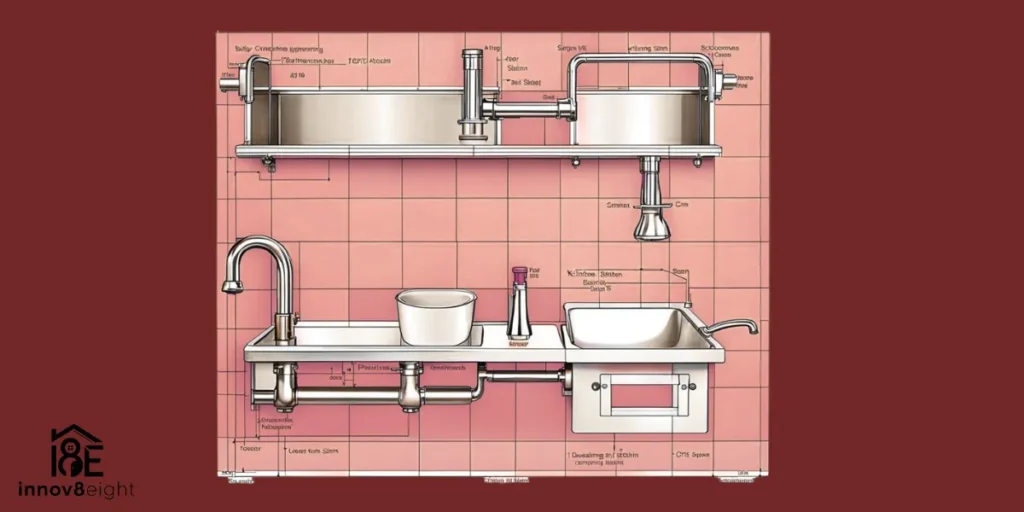
The Core Components You Need to Know
A kitchen sink plumbing diagram typically includes several essential parts. Let’s explore the most common components you’ll see and what each one does.
1. Supply Lines
These carry hot and cold water from your home’s plumbing system to your faucet. Usually flexible and made of braided metal or plastic, they connect from shut-off valves (under the sink) to the faucet body.
2. Shut-Off Valves
Also called angle stops, these valves allow you to turn off the water supply to the sink without affecting the rest of the house. You’ll usually find one for hot water and one for cold water.
3. P-Trap
This curved section of pipe under the sink traps water to prevent sewer gases from entering your kitchen. It’s one of the most important parts of your drainage system.
4. Tailpiece and Drain Arm
The tailpiece connects the sink drain to the P-trap. The drain arm, in turn, connects the P-trap to the wall drain outlet.
5. Air Gap or Vent
These are designed to prevent suction that could siphon water back into the system or cause slow draining. In modern homes, vents are required by code.
6. Garbage Disposal (Optional)
If installed, it will be connected to one of the sink’s drain lines, and to power. Plumbing diagrams show how it fits into the drain system and connects to the dishwasher if applicable.
How Incorrect Plumbing Leads to Leaks
Understanding a proper kitchen sink plumbing diagram isn’t just for plumbers. Even minor mistakes in setup can lead to ongoing leaks that go unnoticed until there’s major water damage.
Common mistakes include:
- Loose or over-tightened connections: Both can cause slow leaks at joints.
- Missing or faulty gaskets: These are critical to sealing joints between parts.
- Improper slope: The drain pipe must slope correctly (usually 1/4 inch per foot) to allow water to flow efficiently.
- Dry P-trap: If the trap dries out, it can allow sewer gas into your home and cause foul smells.
- Incorrect venting: Without proper venting, you may hear gurgling sounds or experience slow draining.
These errors are avoidable if you follow a well-designed plumbing diagram and understand what each part does.
Tips for Using a Plumbing Diagram in DIY Projects
If you’re installing or repairing your kitchen sink, here’s how to make the most out of a proper diagram:
- Print a labeled diagram: Many manufacturers or home improvement websites offer visual guides. Make sure it matches your sink type (single bowl, double bowl, with or without garbage disposal).
- Use color codes: Label hot and cold lines in red and blue for easy reference.
- Mark pipe sizes: Different fittings require precise sizing to avoid leaks.
- Double-check venting requirements: Especially if adding a dishwasher or garbage disposal.
- Test connections before sealing: Turn on the water and run a check before tightening everything permanently.
With a clear diagram and a bit of patience, even complex plumbing tasks become manageable.
Long-Term Benefits of a Leak-Free Setup
Investing the time to understand your kitchen sink plumbing pays off in long-term peace of mind. You’ll enjoy:
- Fewer emergency calls to plumbers
- No surprise water damage under the sink
- More efficient kitchen operations
- Confidence in handling minor repairs yourself
Preventive care starts with knowledge—and that starts with understanding how your system works.
FAQs
What is the purpose of a P-trap in a kitchen sink setup?
The P-trap is designed to hold water, creating a seal that blocks sewer gases from entering your kitchen. It also helps trap debris to prevent clogs further down the drain.
Can I install a kitchen sink without a proper plumbing diagram?
It’s not recommended. Without a proper kitchen sink plumbing diagram, you risk incorrect installation, which can lead to leaks, poor drainage, or even code violations.
How do I know if my kitchen sink is properly vented?
Signs of poor venting include gurgling noises, slow drainage, and foul smells. A diagram can help identify whether a vent is present and correctly installed.
Is it safe to do DIY plumbing work under the kitchen sink?
For basic tasks like replacing a faucet or clearing a clog, yes. However, for major changes involving water lines or drainage rerouting, it’s best to consult a professional.
How often should I inspect the plumbing under my sink?
Every few months, do a quick check for leaks, corrosion, or moisture around joints. Early detection is key to avoiding major issues.
Understanding your kitchen’s plumbing doesn’t require a degree—it just takes a bit of attention and the right guide. A proper kitchen sink plumbing diagram empowers you to take control of one of the most vital systems in your home. Whether you’re remodeling, troubleshooting, or just being proactive, it’s a small step that pays big dividends.
Let your sink work for you, not against you—start with the diagram.